Murfreesboro Aviation continues to improve upon its reputation as a quality maintenance service center. We work very hard at ensuring each customer that conducts business with us leaves our facility happy with the quality of service received and treatment from our employees. When you leave your aircraft with us for repair, you are by implication demonstrating trust in us. We want your trust rewarded and we want you to refer others to us. Our referrals are our future!
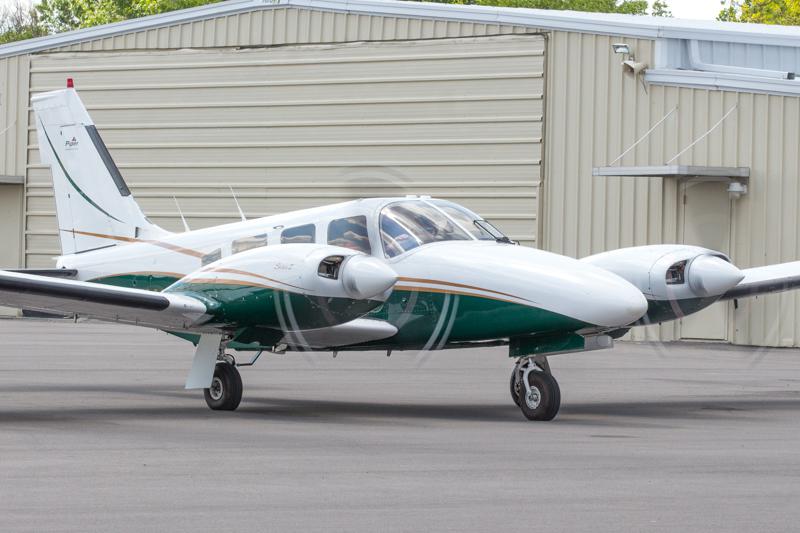
After many weeks of work, we recently completed an extensive renovation on a Piper Seneca. Although Murfreesboro Aviation is a Cessna Authorized Service Center, we regularly work on other products such as Piper, Mooney, Beechcraft, Cirrus, and others.
Don, the owner of the Seneca, came to us late last year and asked us to perform the following work;
- Annual Inspection and AD compliance
- Brand new interior installation
- Brand new windshields and side window
- Complete avionics panel redesign
- Brand new avionics panel
- Remove most of his existing avionics and install brand new equipment
- Many other miscellaneous tasks and repairs
As you can imagine, we were excited about the opportunity to perform such an extensive amount of work. Major areas of renovation are discussed below along with the before, in-process, and after photos as available.
Of course I’ll be simplifying the entire process in this blog because you need to get back to making money so that you can have the same upgrades made to your plane. See, we always keep our focus on you (a little self-serving promotional commentary).
AVIONICS UPGRADES
 When you are removing a great deal of older avionics and installing the latest state of the art boxes, it’s almost guaranteed that the entire panel will have to be re-cut. More specifically, the panel will need to be replaced with a newly cut panel customized specifically for your aircraft. Such was the case with Don’s plane.
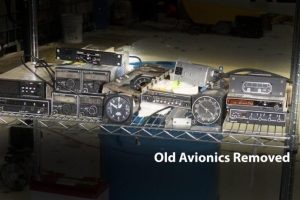
We started by removing the old avionics. Many of these instruments can be usefully repurposed as paper weights, shims for a wobbly table, or used as props during a speech that starts with the words; “back in my day…..”. In this case we simply gave them back to the owner. I hear that he has them stacked in his hangar and when people ask about it he says, “well back when I first bought this airplane…”
 After designing and laying out the new panel, we cut a brand new panel to accommodate the new avionics package. This is an exacting process and must be done correctly. Remember the axiom “measure twice, cut once”? It couldn’t be more appropriate in this situation.
We cut the new panel, which you see installed in this photo. I realize the photo looks like a photo of an accident at Macaroni Grill, but it’s just wires…and more wires…and more …not spaghetti!
Murfreesboro Aviation recently purchased CAD (Computer Aided Design) software and a CNC (CNC) machine. CNC stands for, (Computer Numerical Control). It converts the design generated by the CAD software into numbers and the numbers become coordinates on the item to be cut. A bit like a GPS. Assuming the design is accurate and the software and CNC are properly communicating, the possibility of mistakes is reduced to near zero.
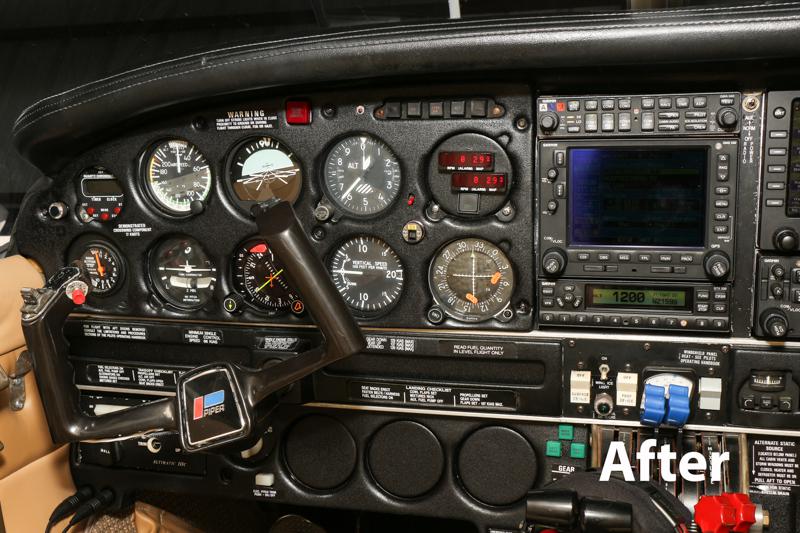
Next we begin the installation process. Here you see the Garmin boxes and Avidyne MFD installed. The big hole in the RH panel is where the JPI-960 will call home. The JPI-960 installation ends at the box but it all begins much further out. I’ll explain what this means in a moment.

So how did the finished panel look?
It’s time for the “big reveal” (a term I borrowed from HGTV).
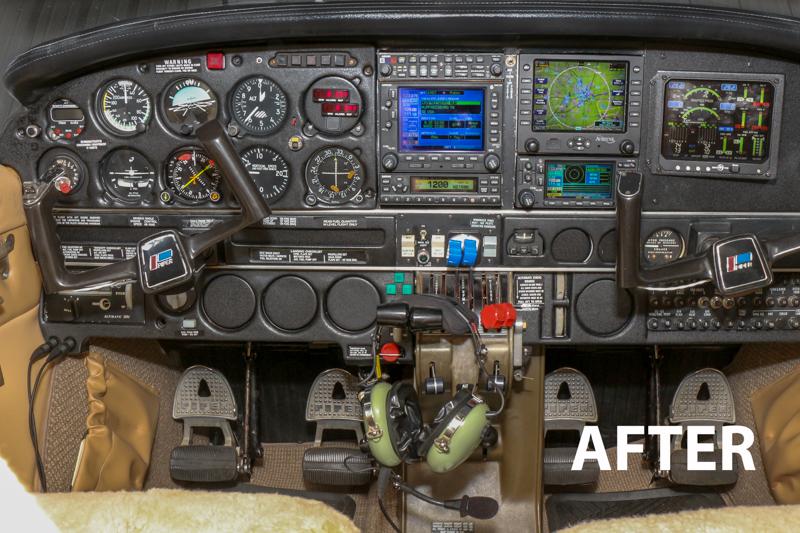

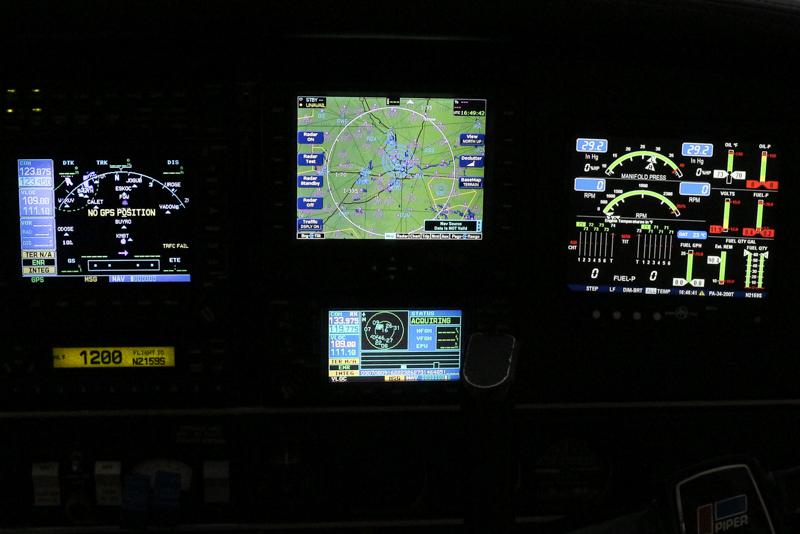
Avionics installed included a Garmin GMA-340 Audio, Garmin 530W, Garmin 430W, Garmin GTX-330 Transponder, Garmin GDL-88 dual link ADSB solution, Garmin GA-35 antenna, Avidyne MFD, JPI EDM-960 with two remote alarm displays, and an OAT probe. Additionally, the following avionics was overhauled and reinstalled; Auto-pilot altitude hold, attitude gyro, KI-525A, and ART-161A radar.
ENGINE WORK
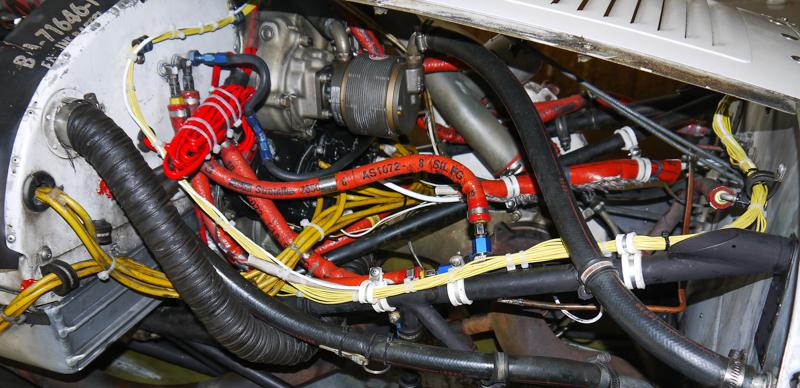
You’ll recall that we installed a JPI EDM-960 engine monitor. Well, all of that useful information displaying on the unit has to make its way from the engine to the display somehow, right?
Each engine received 6 EGT probes, 6 CHT probes, oil temp probe, oil pressure sensor, fuel pressure sensor, fuel transducer, MAP sensor, and magnetic pickup sensor. Accompanying these probes, sensors, and transducers were wires and hoses. Fourteen statue miles of wire goes into each installation! NO. I’m kidding, but as you can see below, there is quite a bit of wire.
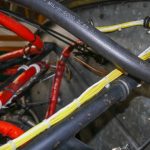
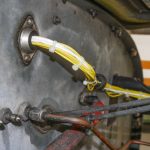
The yellow is the wire and the red are the hoses (but you can figure that one out by looking at the photo). After installation of the probes, sensors, etc., the wires are run from the indicator to the engines and very carefully and meticulously routed and secured.

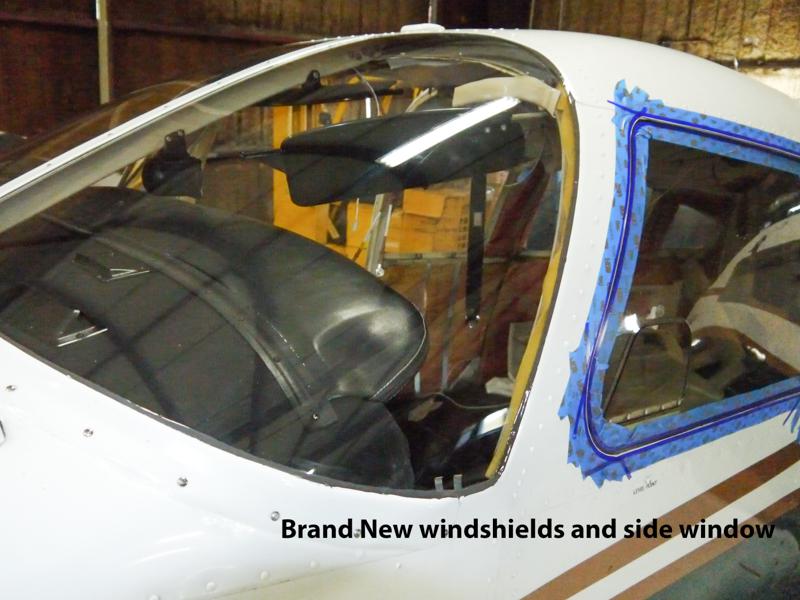
NEW GLASS
Both front windshields were replaced as was the pilots side window. While this is a straightforward process, it is also a very delicate one. During the entire installation process the factory-installed protective peel-off film remains on the window, mitigating any possibility of scratching it. It IS POSSIBLE to crack any window during installation. Aircraft windows, like everything on an aircraft, can be expensive so great care, patience, and a deliberate pace is recommended.
We’ve heard that deep breathing, relaxation techniques and meditation can help calm the hands of the installer…..but our guys prefer to just be very careful!
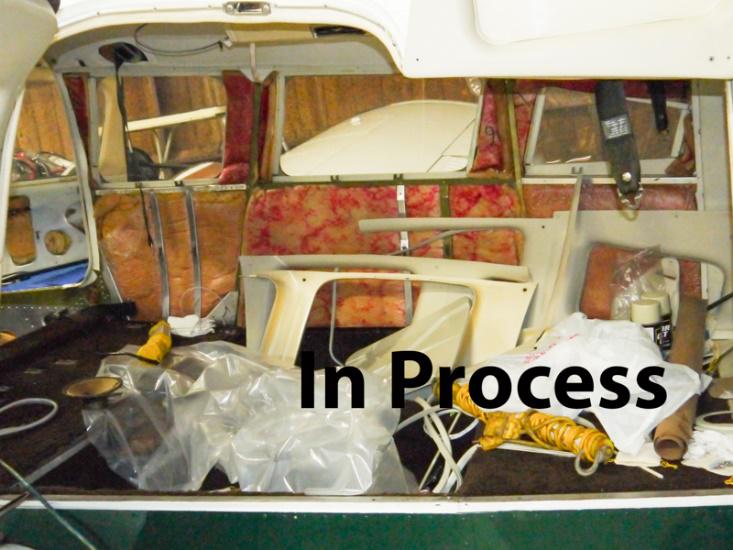
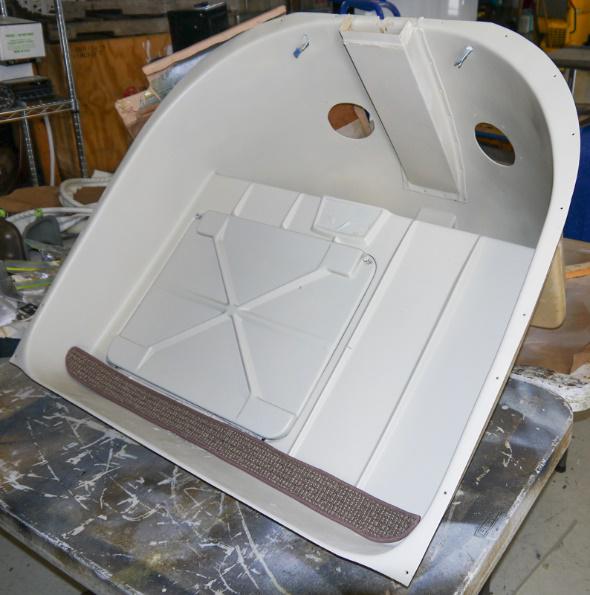
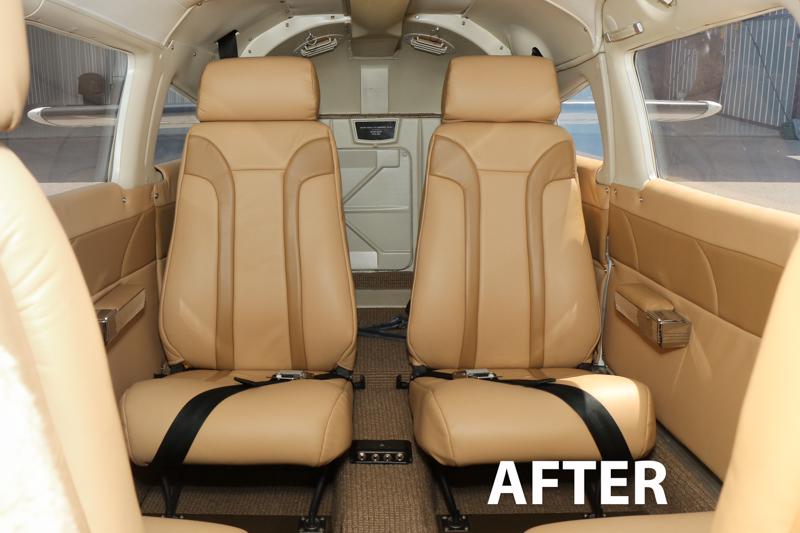
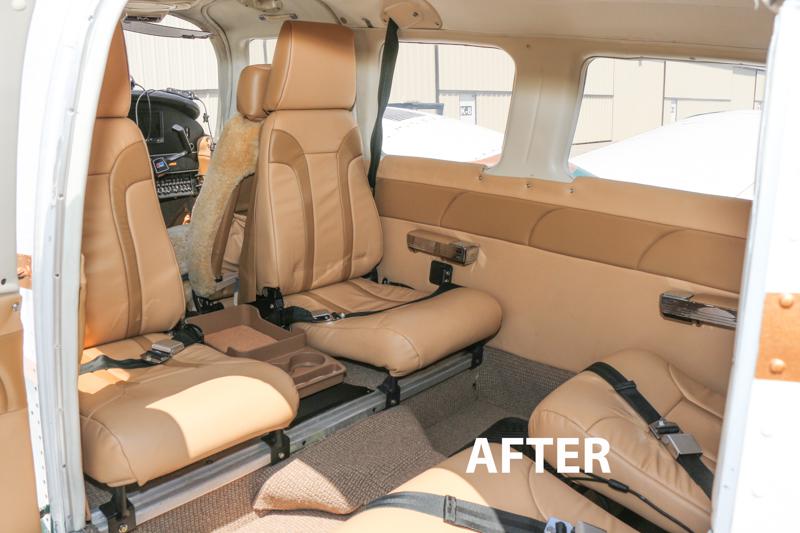
INTERIOR INSTALLATION
As I sit here and contemplate what to write when discussing the interior, I’m inclined to simply let the pictures do the talking. New leather seats and side panels, new headliner, freshly painted plastic, new carpet, and new seat belt webbing completely transformed the interior of this airplane into something special.
Now that I think about it, I think I WILL just let the photos do the talking!


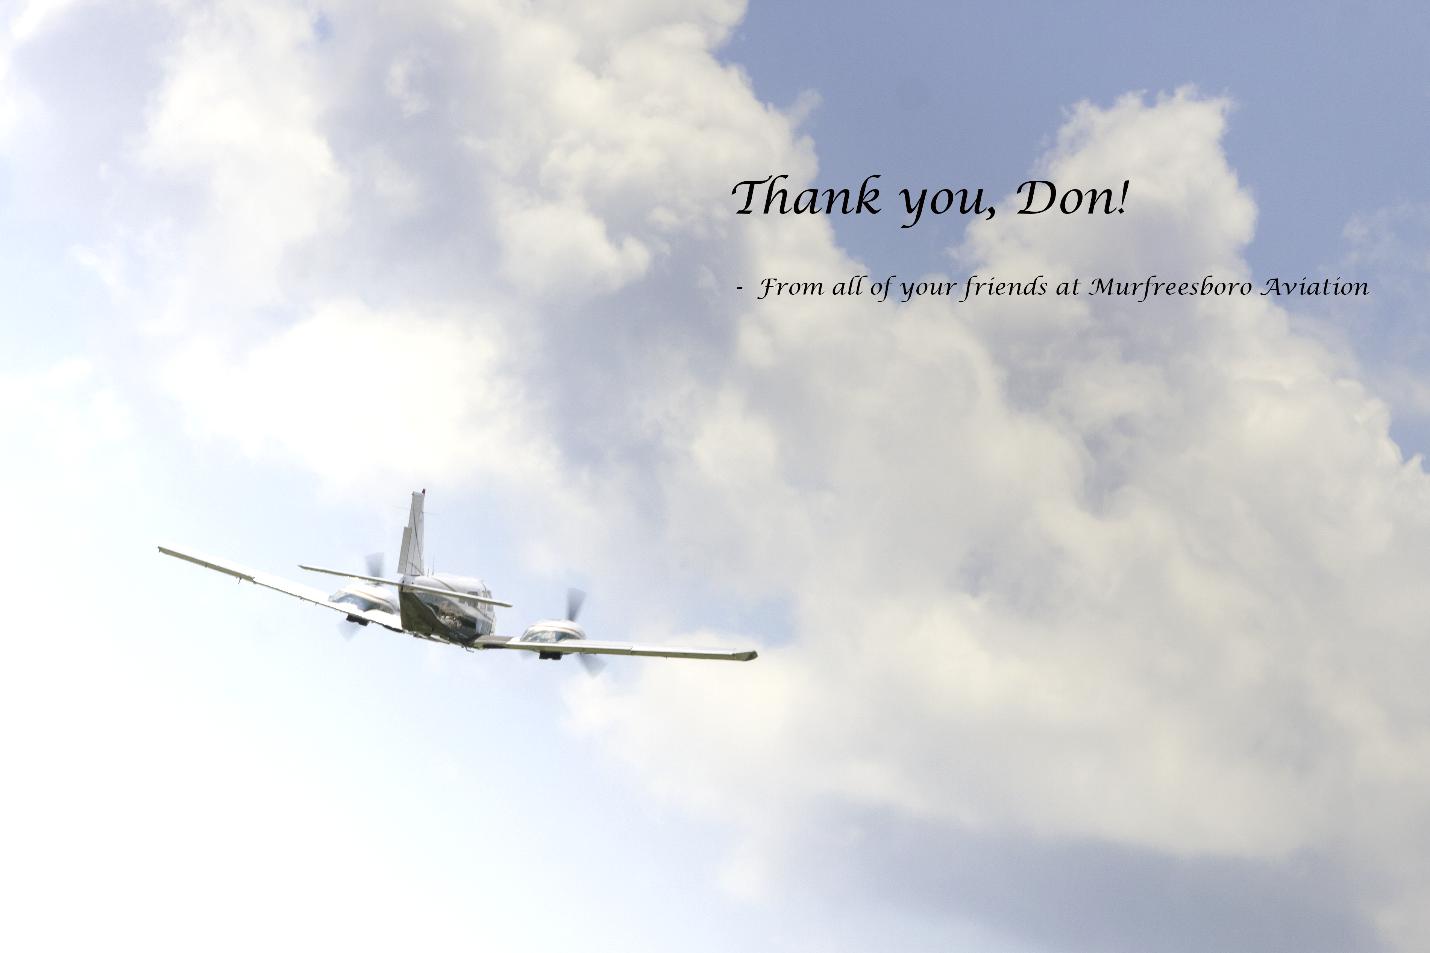
Don was very pleased with the final product!
ANNUAL INSPECTION
After all of the work shown above, discussing the annual inspection suddenly sounds so mundane. So suffice it to say, we performed a great deal of work and discrepancy repair on the aircraft that falls under the heading of “not so sexy”. We replaced hinges, rod end bearings, and master brake cylinders, in addition to all of the other typical annual inspection items. (I’m pretty sure our IA did not use the term “not so sexy” in the log entry! Hmmm, better double check that)
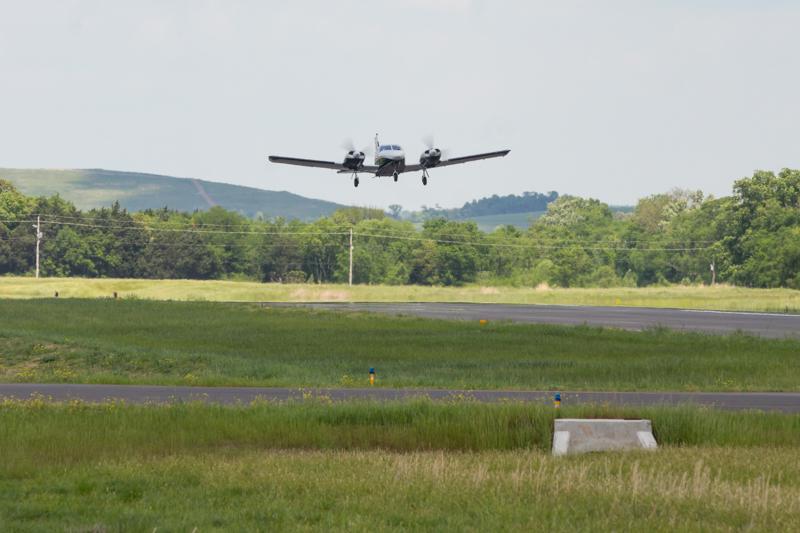
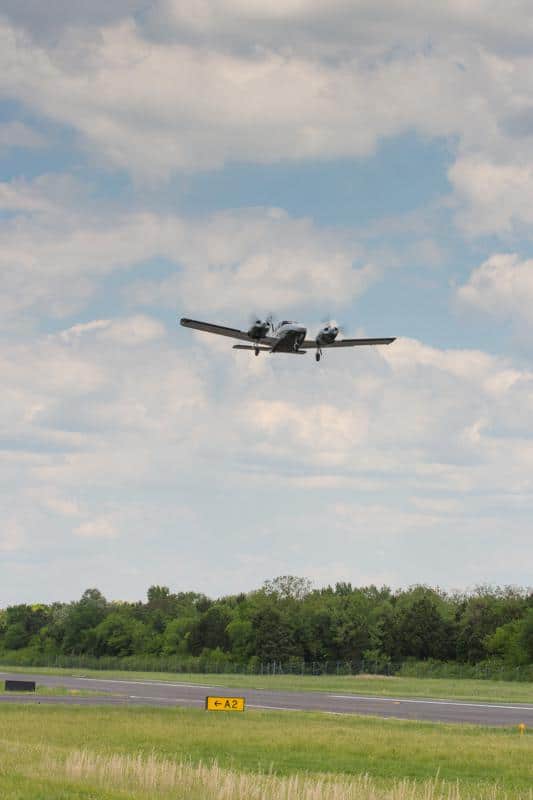
Murfreesboro Aviation would like to thank our friend and customer Don Rickey for entrusting us with his Piper Seneca, N2159S. Don has been a great customer and is now a very, very, happy, great customer! After the work was performed and the aircraft delivered back to Don, he took his son to Georgia for lunch! I happened to be able to be able to catch some shots of them with my Canon and fancy lens as they departed Murfreesboro. Enjoy!